HOW TO: Free Motion Embroidery on a Regular Sewing Machine

I have been free hand monogramming on my regular sewing machine for over a decade. I only discovered recently that there are home embroidery machines in existence. Here I will teach you how to free motion embroider using your regular home sewing machine!
You can monogram or embroider a whole design like flowers or a rabbit or just outline a design like an airplane, carrot or toy. In this tutorial I am monogramming therefore some of the time I will be referring to the design as “letters.”
Lets get started!
Watch the video below or keep reading!
SUPPLIES YOU’LL NEED
There are several key supplies to ensuring a beautiful embroidery. The last thing you want is to finish your hard work and see puckers and skipped stitches. It can save you hours of frustration!
Here is what you need, affiliate links are provided for your convenience (and they help out my family and I):
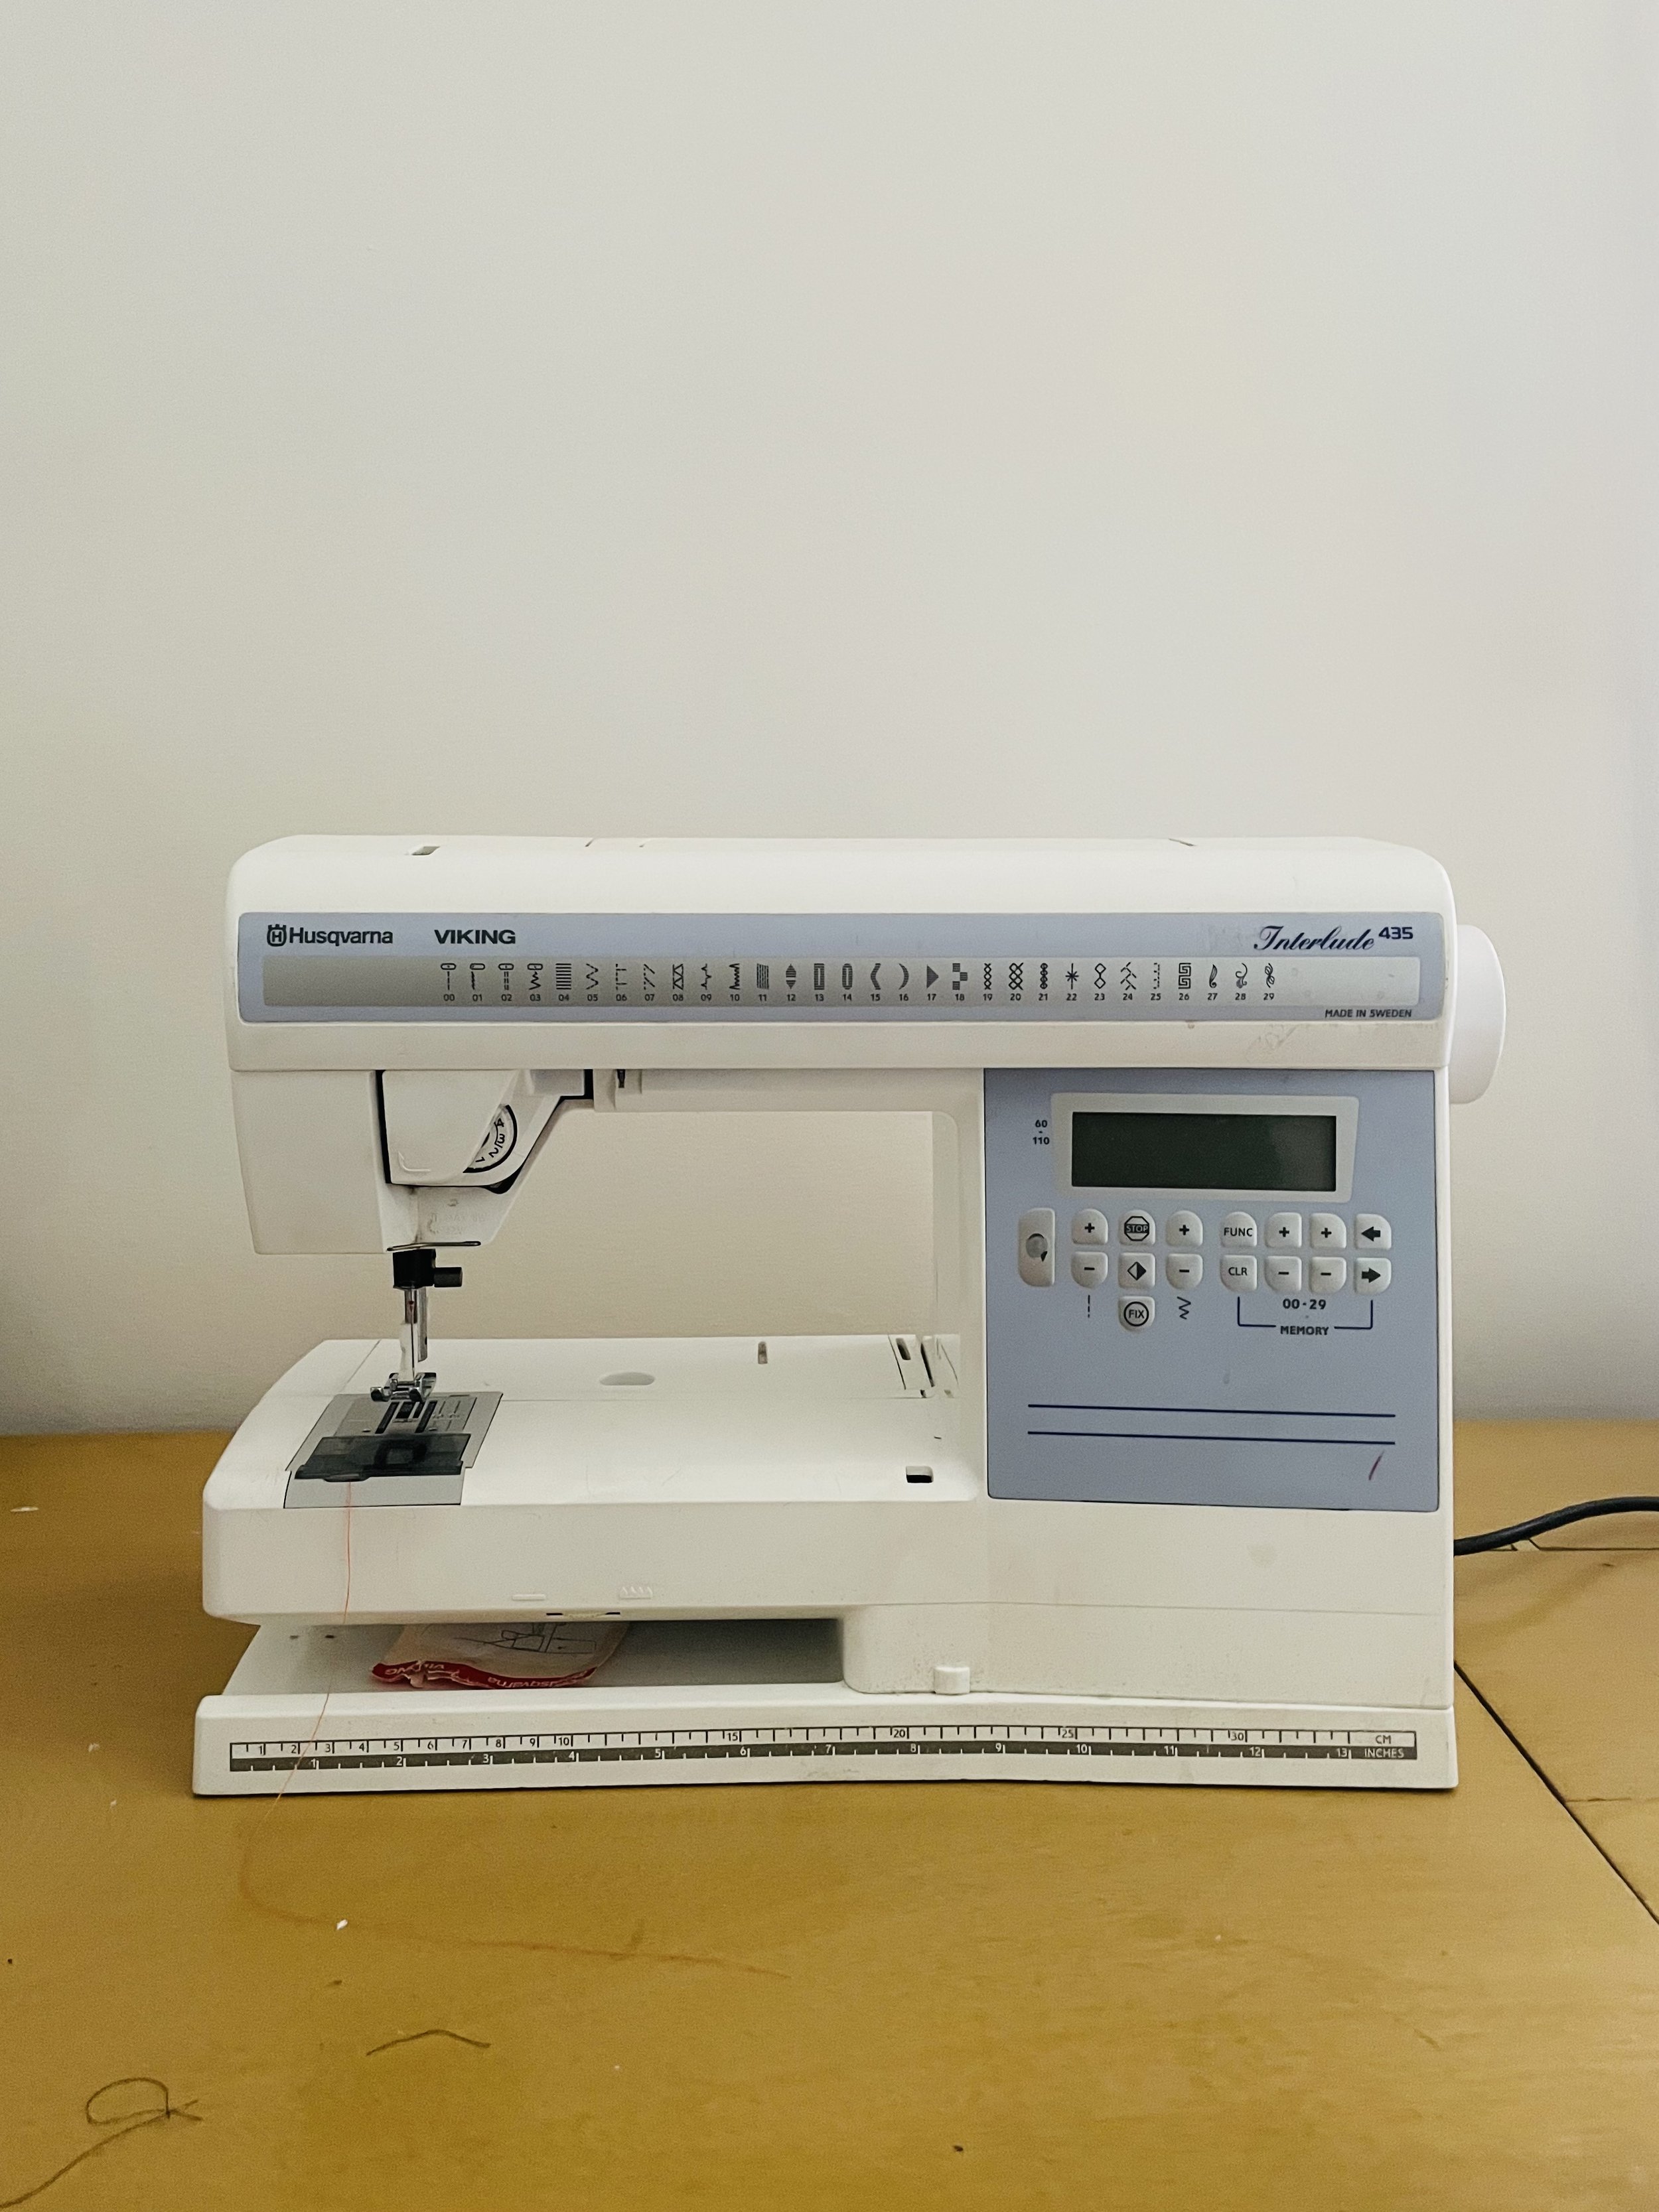
Any kind of regular machine should work as long as you have a satin stitch and/or zig zag stitch.

You will need these for the backing interfacing.

These needles are designed to work with specialty embroidery threads. They have a special scarf shape that guards against friction, allowing for trouble-free embroidery.

An embroidery presser foot will give you the best visibility to see where you’re stitching.

Use a sewing machine embroidery for it has a beautiful sheen unlike regular thread.

You’ll need scissors to cut the interfacing and stabilizer. It’s best to have one pair for cutting fabrics and one for cutting paper.
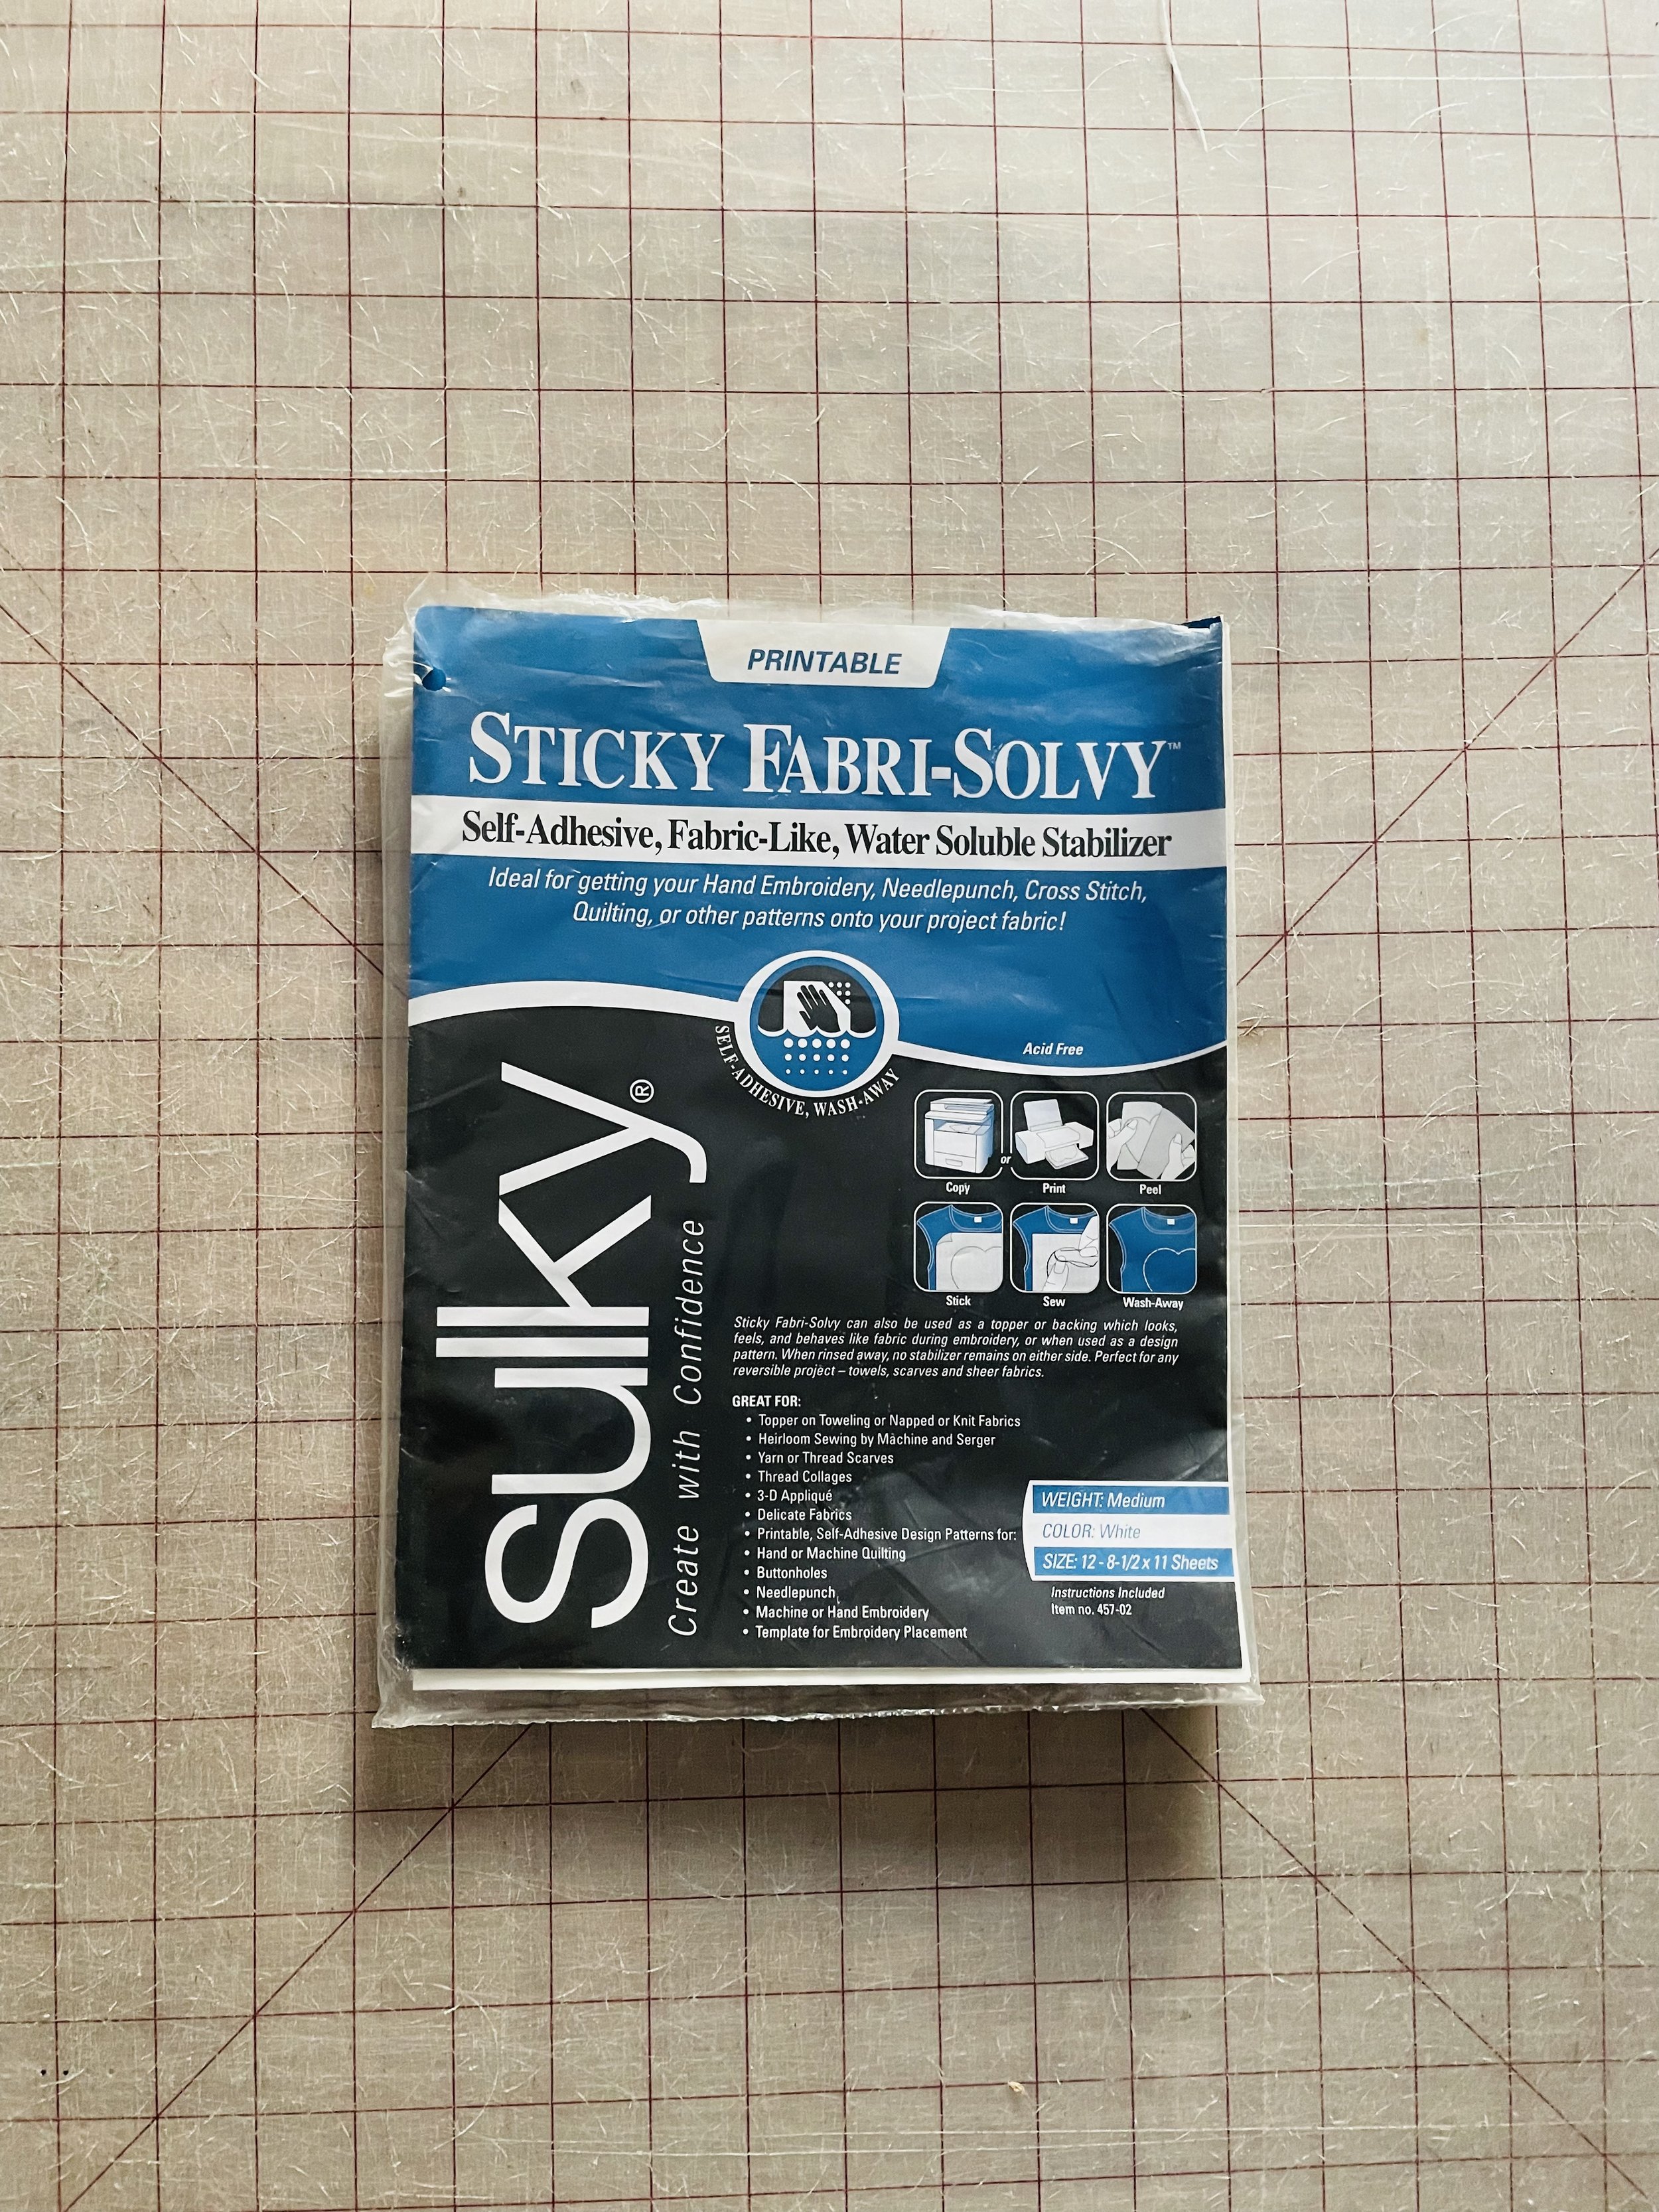
This is what you use to transfer your design on to. I use a printable one since I do my designing on the computer.

This will prevent fabric from puckering.

I use a medium weight, iron on interfacing. It gives structure to the fabric which protects against puckering.
A lighter weight interfacing can be used instead in conjunction with an embroidery hoop.
THE DESIGN

Create the Design
Both free hand drawings and computer print outs work great. I do all my designs on Adobe InDesign or Microsoft Word. I like to just use an outline for the design rather than a filled in one.
I also call this the “stitching guide lines”. These lines are where the needle needs to hit when embroidering.
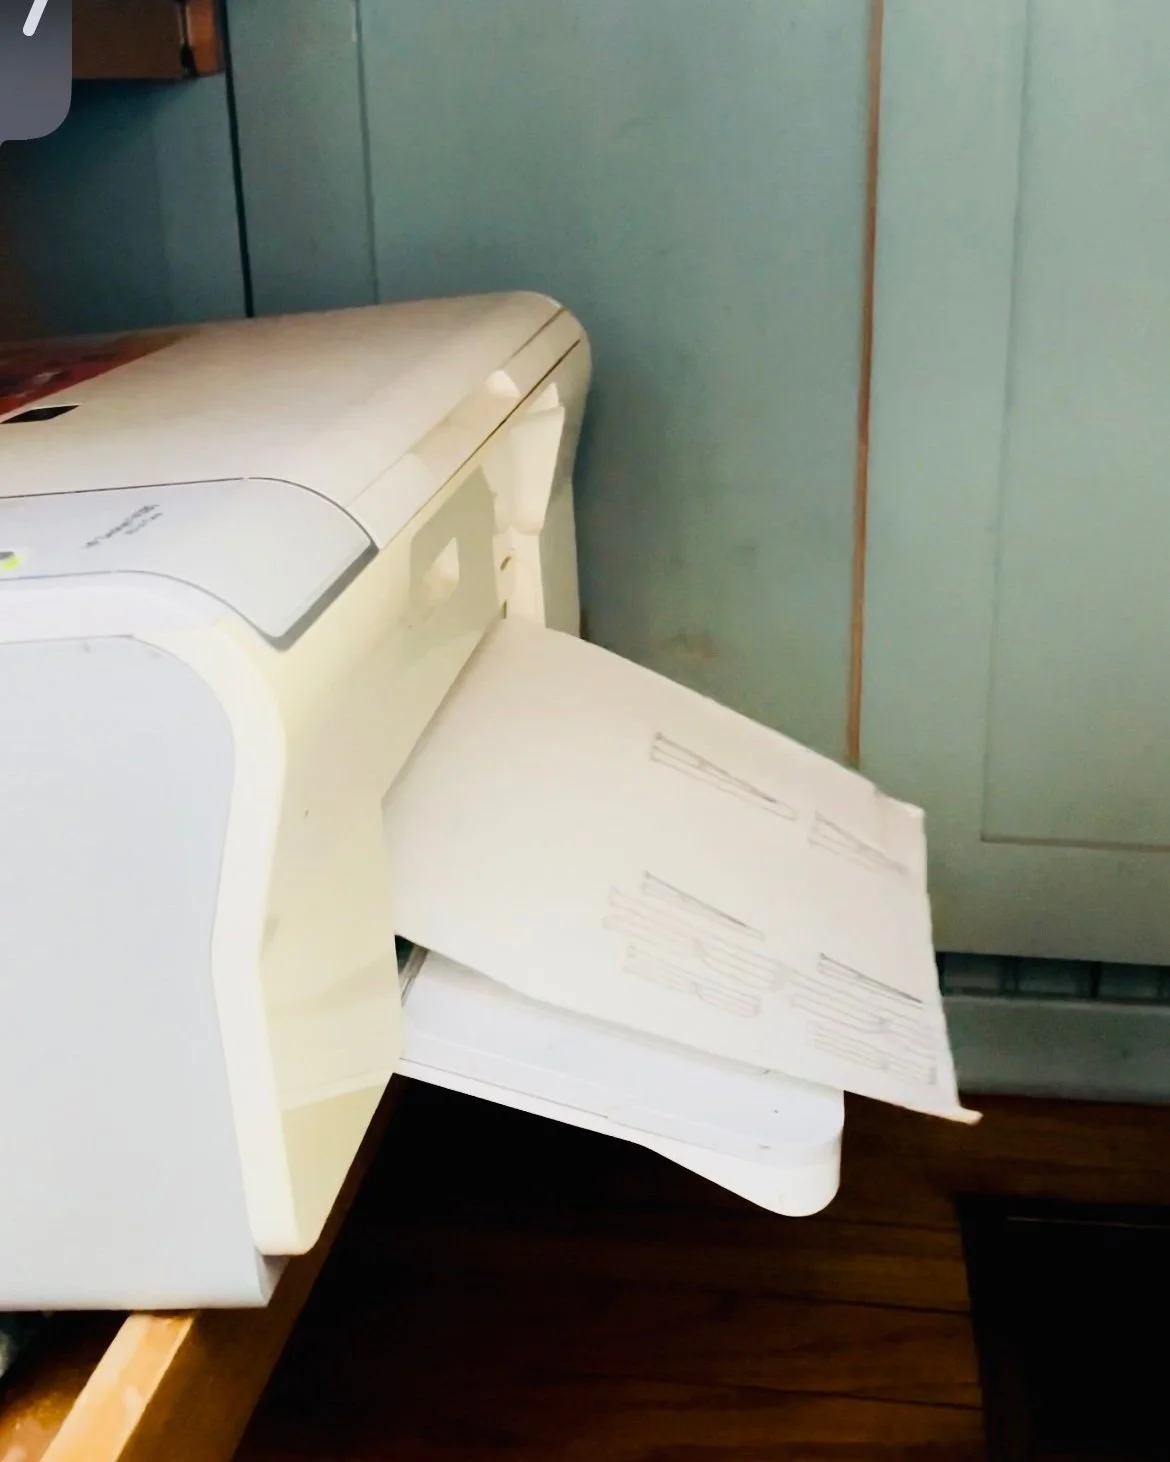
Transfer Design
Whether you choose to free hand draw or print from a computer, the design needs to be put on to the water soluble, stabilizer paper.

Trim Design
Cut around the designing leaving about .5 inches space on all sides.
Your design is ready!
PREPARING THE FABRIC

Pick Your Fabric
What is the design going on? Any type of fabric should work as long as you follow my steps.
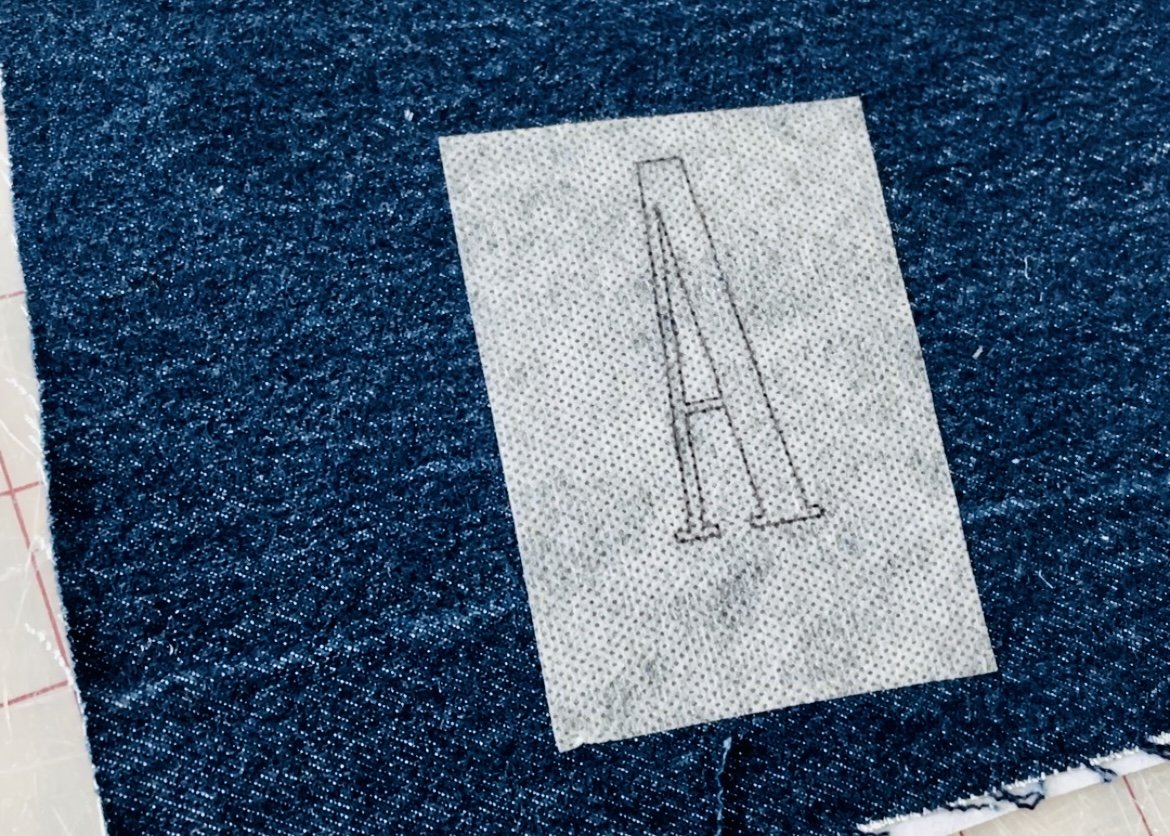
I am putting it on a piece of scrap from a pair of jeans.

Iron on Interfacing
Cut a piece of interfacing about double the size of the design. This ensures you wont accidently be stitching off the edge of it.
Note: if you are using a light colored or thin piece of fabric that the interfacing may be seen then I would recommend cutting the interfacing to match the exact shape of the design. It’s more appealing to the eye that way.
Iron onto the back side of the fabric. Follow the directions to the interfacing you have for how to properly adhere it.

Peel the backing off the paper
This paper has a self-adhesive backing to ensure your design stays in place.

Placement
Stick on to the fabric where you would like the design to be stitched.
Done!
Your design and fabric should look like this.
Your fabric is ready!
SETTING UP THE MACHINE
The design is now ready to be stitched but first lets get the machine ready!

Switch to an Embroidery Needle
These needles are designed to work with specialty embroidery threads and have a special scarf shape that guards against friction, allowing for trouble-free embroidery. If you choose to not use embroidery thread than you can get away with a universal needle, if the thread keeps breaking then try a heavier size like a jean or topstitching needle.

Switch to an Embroidery Presser Foot
I highly recommend using this presser foot. It gives you clear visibility of the stitches. If you don’t have one, you can use a regular foot it just might not give you clean line. Go slow and lift your presser foot often to see exactly where your stitch lines are.

Thread Your Machine with Embroidery Thread
This thread has a special sheen to it which regular thread does not have. You can do regular thread but the sheen of the embroidery thread gives a subtle pop and draws your eye much more than the regular would.

Pick Your Stitch
If your machine has a satin stitch than that is the one to use. If it does not a zig zag stitch will give you the same look. Just set the stitch distance to about a .4mm.
Your machine is ready!
STITCHING
You’re ready to stitch! Now it’s time to start figuring out your “stitching strategy.” This is what I call the plan for each letter/design. For example, an “A” requires different techniques than an “S.” I study where I will start, whether it has straight or curved sections and if I can connect the whole letter or if I will have a few starting points. I try to connect as many sections as possible without having to remove the piece and cut the threads, sometimes it’s just not possible.
Here are a few notes to keep in mind:
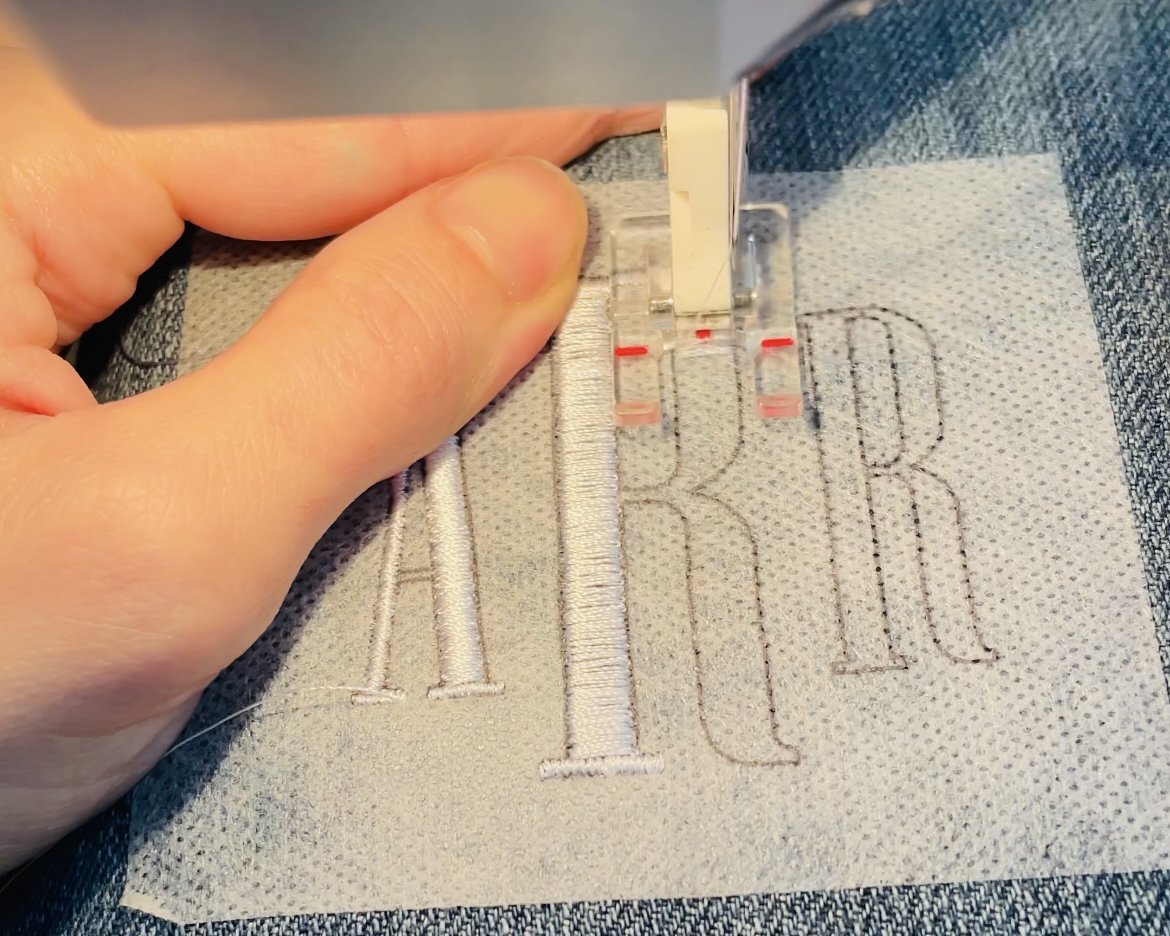
Most stitches go horizontally to the letters. The feet and short connecting lines of the letters will be vertical.
My machine is digital and has a satin stitch therefore that is how I am showing you
I will be referring to the printed monogram as the stitching guide line
I use a heavier interfacing instead of using an embroidery hoop. Because I upcycle, a lot of the time my fabric pieces are too small to fit in an embroidery machine. If that happens to you and you want to use an embroidery hoop here what you can do: find a piece of fabric large enough to fit in the hoop and on the outside edge, sew your piece onto the larger piece of fabric using a larger stitch so you can easily remove it when your done. When you’re finished embroidering, take the stitches out and trim the larger piece of fabric leaving about 1/8 in. around the stitching. You don’t want to see that fabric from the front.
I will be showing you two different types of letters:
Letters with only straight lines
Letters with curves and increasing/decreasing widths
Embroidering with Straight Lines:

The Start
I always work left to right and bottom to top. You want your stitches to hit the stitching guide lines on the paper. To determine the stitch width I first take a guess and use the handwheel to move the needle as close to the fabric but without inserting it. If the needle is lined up with stitching guide line than you have the right width and can continue to stitch. If it does not line up then lift the presser foot, manually move the stitching line under the needle and than adjust the stitch width on the machine and repeat the previous steps until it fits.

Choose a Stitch Width
This thin section uses a 1.5mm stitch.

Two Layers
For the best results, you will be doing 2 layers of stitching per letter. Go over the original layer exactly the way first did it only in reverse.

Move to Next Section
If you can, try to connect your threads to the each section. It makes less work when finishing off but ins’t totally necessary. For this letter as an example, when you get to the end of the letter’s foot, back stitch until you get to the next section. It is the same width as the foot so continue to stitch to the top.

Don’t Forget The Second Layer!
I decided to do the second layer of this section rather then finish connecting the whole “A”.

Wider Stitch
So far, all the sections were 1.5 mm wide. This section is clearly much wider. Again, guess how wide you think it might be and use the handwheel to move the needle as close to the fabric but without inserting it. If the needle is lined up with stitching guide line than you have the right width and can continue to stitch. If it does not line up then lift the presser foot, manually move the stitching line under the needle and than adjust the stitch width on the machine and repeat the previous steps until it fits.

Increase the Width
This new section is 4.5mm.

Second Layer!
Don’t forget!

Finishing
When you get to the end, back stitch a few stitches and forward stitch to the end again. Use a hand stitching needle to pull the loose threads to the back of the fabric, tie a double knot and trim threads to about .5 in.
Embroidering with Curves and Increasing/Decreasing Widths

Stitching Around a Curve
When you get to the start of a curve start pivoting the fabric to follow the stitching guide lines.

Increasing the Width
At the same time, gradually increasing the stitch with, 1.5mm-2mm. For a smooth look only go up .5mm at a time.

Stitch & Pivot
Stitch a few more stitches while pivoting the fabric, making sure your needle is hitting the stitching guide lines. When you notice you’re just shy of the line then it is time to increase the stitch width.

Increase
Increase another .5mm, 2-2.5mm.

Stitch & Pivot
Stitch a few more stitches while pivoting the fabric, again making sure your needle is hitting the stitching guide lines.

Increase
Increase another .5mm, 2.5-3mm.

Stitch & Pivot
Continue to stitch a few more stitches while pivoting the fabric, again making sure your needle is hitting the stitching guide lines.

Increase
Increase another .5mm, 3-3mm.

Stitching a Sharp Curve
To go around a sharp curve- stop, leave the needle in the fabric, lift the presser foot and rotate the fabric. Stitch a few more stitches and make sure your needle is hitting the stitching guide lines.

Increase
Increase another .5mm, 3.5-4mm

Stitch & Pivot
Keep going! Stitch a few more stitches while pivoting the fabric, making sure your needles is hitting the stitching guide lines. Your stitches will overlap in some parts.

Increase
Increase another .5mm, 4-4.5mm.

Stitch & Pivot
You’re almost there! Continue to stitch a few more stitches while pivoting the fabric, again making sure your needle is hitting the stitching guide lines.

Increase
Increase another .5mm, 4.5-5mm.

Stitch & Pivot
So close! Keep stitching a few more stitches while pivoting the fabric, making sure your needles is hitting the stitching guide lines.

Increase
Increase another .5mm, 5-5.5mm.

Stitch & Pivot
The last repeat! Stitch a few more stitches while pivoting the fabric, making sure your needles is hitting the stitching guide lines.

Increase
Increase another .5mm, 5.5-6mm.
Straight Stitch
You made it to around the hardest part! Using the largest width stitch, 6 mm, continue stitching straight.

Tapering Stitches
When you make it to the tapering section then repeat all the previous steps but in reverse.

Continue Stitching
Finish stitching the rest of the monogram by following the previous steps.

THE Second Layer!
Just a reminder!
Your stitching is finished!
FINISHING

Removing the Threads
With a hand stitching needle, pull the threads to the back side of the fabric, double knot and cut leaving about .5 in of thread.

Pull Off the Paper
Peel all around the design and anywhere there are large sections of paper.
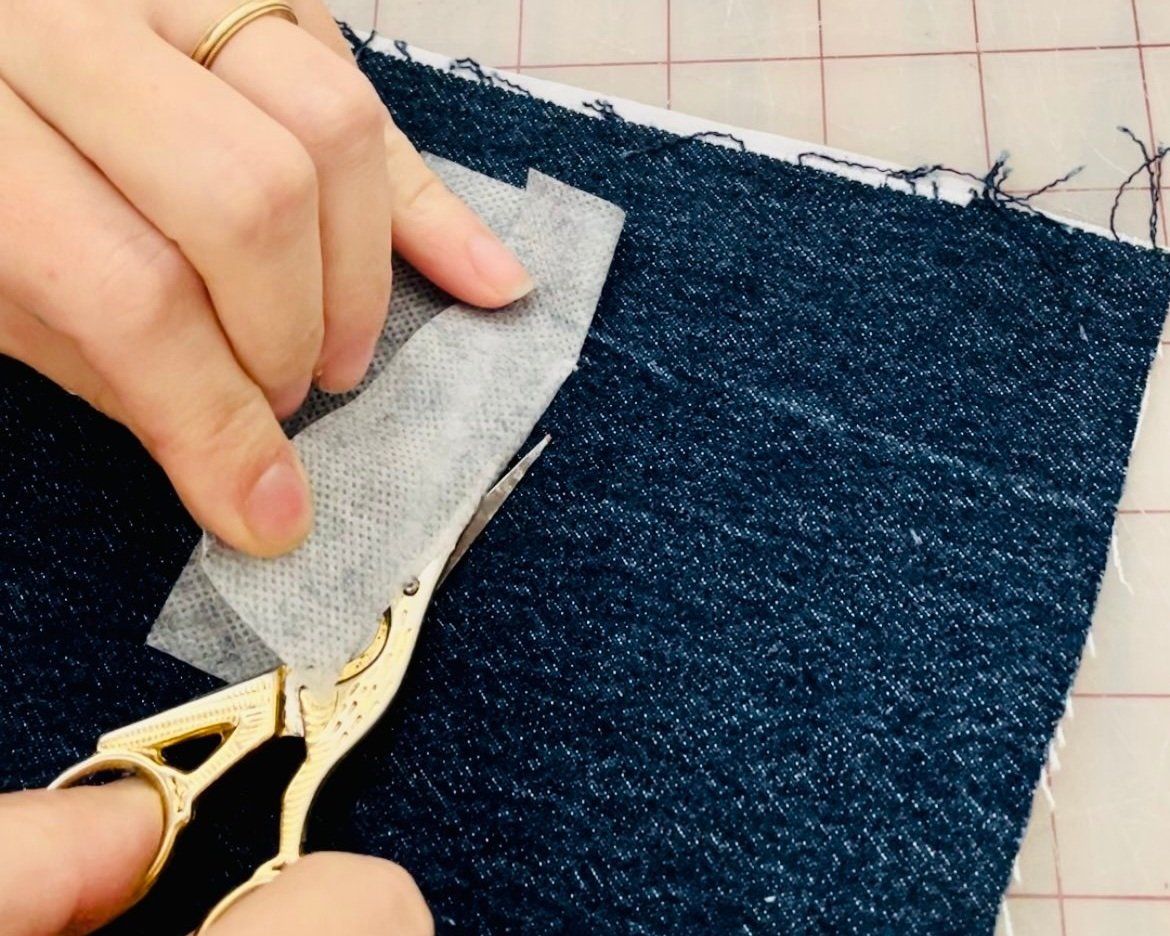
Cut Off the Excess Paper
Please be careful to not cut any threads!

Soak or Run Under Water
To remove the rest of the water soluble stabilizer. You can either soak it in a bowl for a few minutes or run it under the faucet. Either way you may need to gently rub your fingers over the loose paper.
Let it air dry, iron it one more time and your embroidery is now finished!

To learn how to make these upcycled iron on patches, subscribe to my newsletter to be the first to know when my new tutorial is available!